AMP
Accelerated Mobile Pages (AMP) is Google's solution that improves site speed and performance for mobile devices. AMP sets specific style and content requirements to slash load times and improve mobile display - these pages load 10 times faster and use 10 times less data than standard mobile pages.
These optimizations can also increase clickthrough rates. Since Google prioritizes AMP pages in search results, non-AMP pages often appear lower on the results page.
Install Instructions
-
Copy this AMP code to your clipboard.
<script async custom-element="amp-link-rewriter" src="https://cdn.ampproject.org/v0/amp-link-rewriter-0.1.js"></script>
-
Paste the code on your pages.
This code should be inserted inside the <head>...</head> section of your pages, above any other AMP scripts.
-
Find the API key for the site that you're using.
-
Copy this code to your clipboard. Make sure you replace the bolded text below with your API key.
<amp-link-rewriter layout="nodisplay">
  <script type="application/json">
    { "output": "https://redirect.viglink.comkey=${apiKey}&u=${href}&type=ap&loc=SO URCE_URL&ref=DOCUMENT_REFERRER",
      "vars": { }
      "apiKey": "YOUR API KEY HERE"
    }
  </script>
</amp-link-rewriter>
-
Paste the code on your pages.
This code should be inserted inside the <body>...</body> section of your pages.
-
You're done!
See the official AMP documentation if you'd like more information about the amp-link-rewriter component.
Blogger
-
Find the API key for the site that you're using.
-
Copy this code to your clipboard. Make sure you replace the bolded text below with your API key.
<script type="text/javascript">
  var vglnk = {key: 'YOUR API KEY HERE'};
  (function(d, t) {
    var s = d.createElement(t);
    s.type = 'text/javascript';
    s.async = true;
    s.src = '//cdn.viglink.com/api/vglnk.js';
    var r = d.getElementsByTagName(t)[0];
    r.parentNode.insertBefore(s, r);
  }
  (document, 'script'));
</script>
-
On your blogger dashboard, click on the name of the blog.

-
Select Layout from the menu on the left.

-
Click Add a Gadget that's closest to the bottom.
-
From the gadget list, under basics, select the HTML/JavaScript gadget.
-
Paste the code in content (leave Title empty). Click Save.
-
You're done!
Google Tag Manager
-
Find the API key for the site that you're using.
-
Copy this code to your clipboard. Make sure you replace ‘YOUR API KEY HERE’ below with your API key.
<script type="text/javascript">
  var vglnk = {key: 'YOUR API KEY HERE'};
  (function(d, t) {
    var s = d.createElement(t);
    s.type = 'text/javascript';
    s.async = true;
    s.src = '//cdn.viglink.com/api/vglnk.js';
    var r = d.getElementsByTagName(t)[0];
    r.parentNode.insertBefore(s, r);
  }(document, 'script'));
</script>
-
Select your account from Google Tag Manager home page and click New Tag.

-
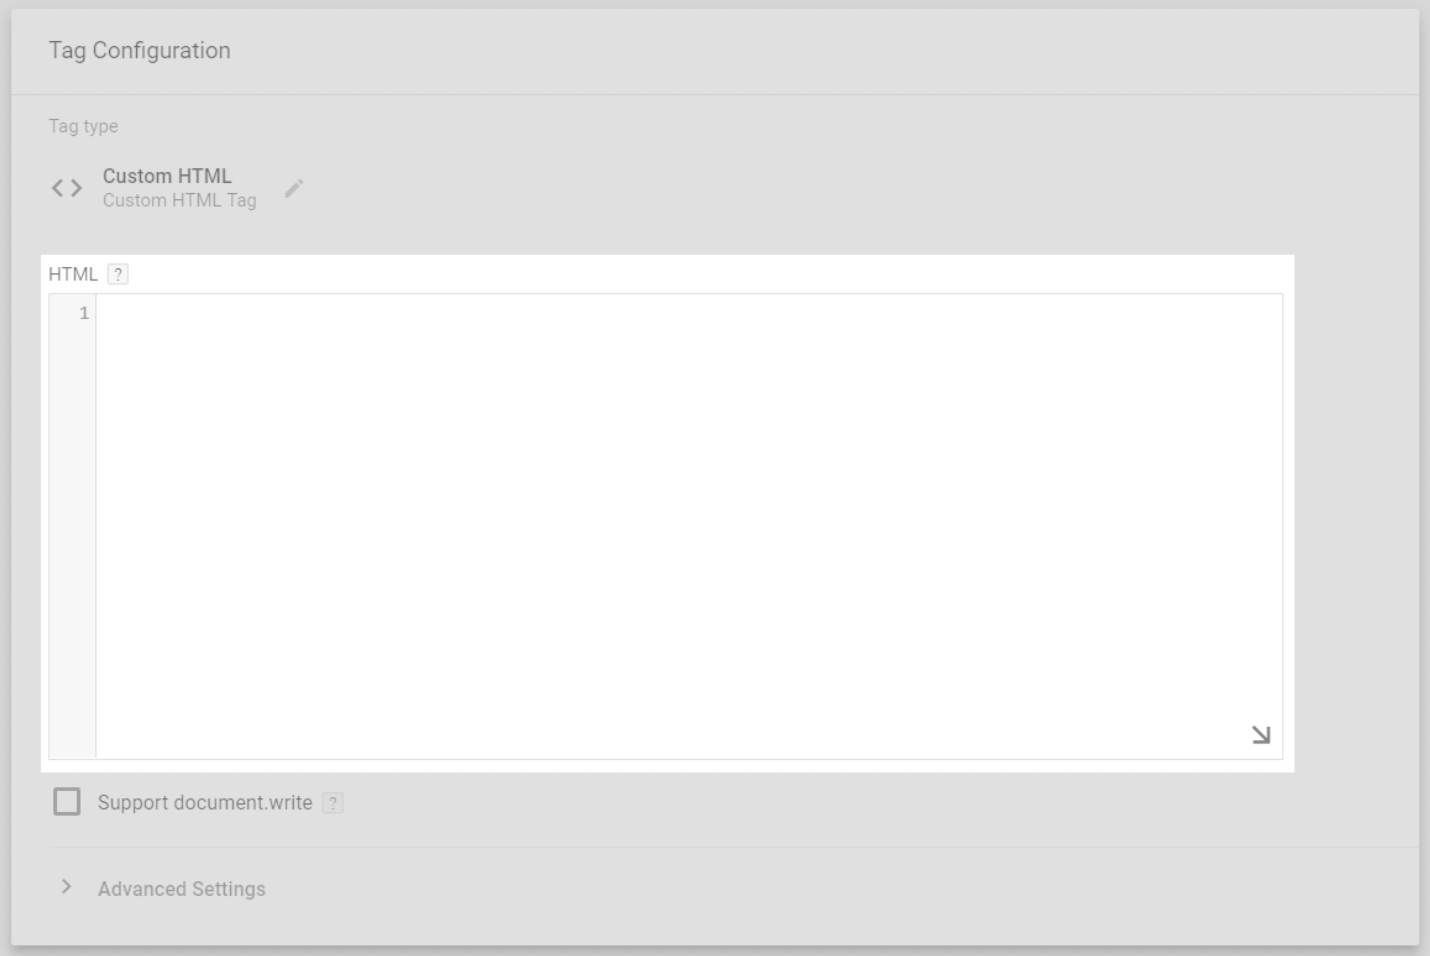
Click the box to choose a tag type to begin the setup and select Custom HTML as the Tag type.

-
Paste the code from step 2 into the text box.

-
Choose a Trigger to make the above tag fire.
-
Select either All Pages on Page View or create a new trigger if this does not exist, or if you only want this tag to fire on select pages. If using an existing tag, skip to step 10.
-
Click the box to choose a trigger type and select Page View from the list.
-
Select either All Page Views or Some Page Views. If selecting Some Page Views, you can stop the loading of the //Commerce code on select pages. Now click Save.

10) Finally, on the main Tag page, name your newly created Tag and then press save.
11) You're done!
phpBB
Please visit phpBB.com for instructions.
tumblr
-
Find the API key for the site that you're using.
-
Copy this code to your clipboard. Make sure you replace ‘YOUR API KEY HERE’ below with your API key.
<script type="text/javascript">
  var vglnk = {key: 'YOUR API KEY HERE'};
  (function(d, t) {
    var s = d.createElement(t);
    s.type = 'text/javascript';
    s.async = true;
    s.src = '//cdn.viglink.com/api/vglnk.js';
    var r = d.getElementsByTagName(t)[0];
    r.parentNode.insertBefore(s, r);
  }(document, 'script'));
</script>
-
Go to the Tumblr customize page and open the Theme menu.
-
Click Use custom HTML at the bottom of the theme palette (if you haven't customized your theme).

-
Paste the code just above the </body> tag.

-
Click Save at the top of the page.
-
You're done!
TypePad
-
Find the API key for the site that you're using.
-
Copy this code to your clipboard. Make sure you replace ‘YOUR API KEY HERE’ below with your API key.
<script type="text/javascript">
  var vglnk = {key: 'YOUR API KEY HERE'};
  (function(d, t) {
    var s = d.createElement(t);
    s.type = 'text/javascript';
    s.async = true;
    s.src = '//cdn.viglink.com/api/vglnk.js';
    var r = d.getElementsByTagName(t)[0];
    r.parentNode.insertBefore(s, r);
  }(document, 'script'));
</script>
-
Go to your TypePad dashboard. Click the Design link.

-
On the design page, click the Content link.

-
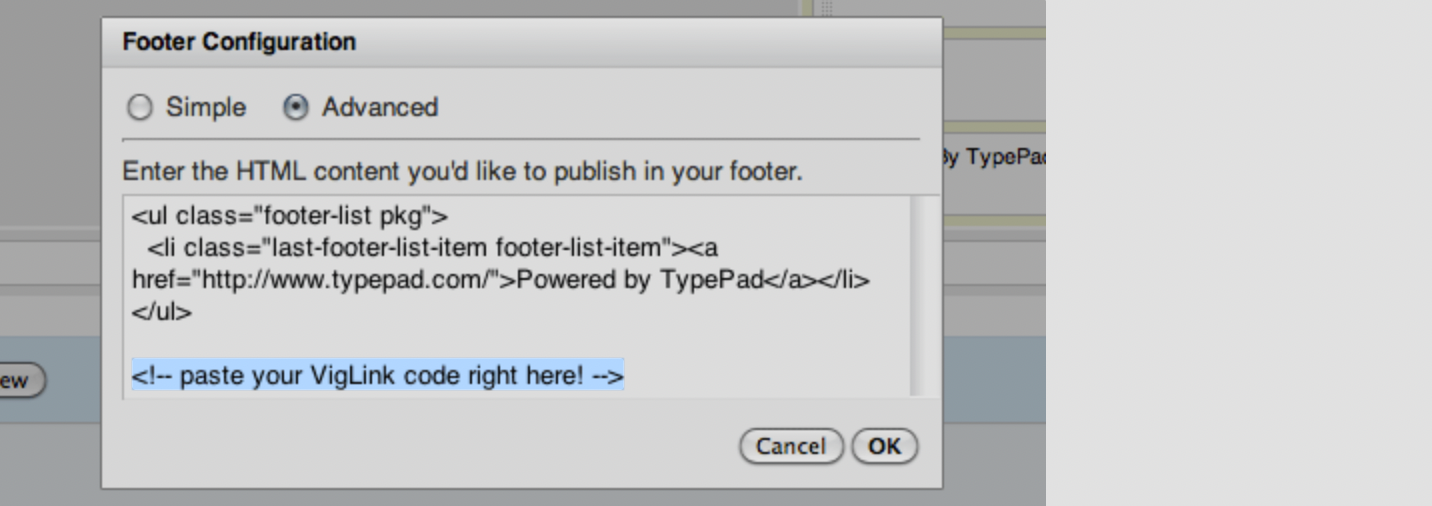
Find the blog footer module, and click the pencil icon.

-
Click Advanced, paste the code at the bottom of the HTML text box. Click OK.

-
Click the Save Changes button.
-
You're done!
vBulletin
Please visit vbulletin.org for instructions.
Wordpress
Please visit wordpress.org for instructions.
xenForo
Please visit xenForo.com for instructions.
Wix
-
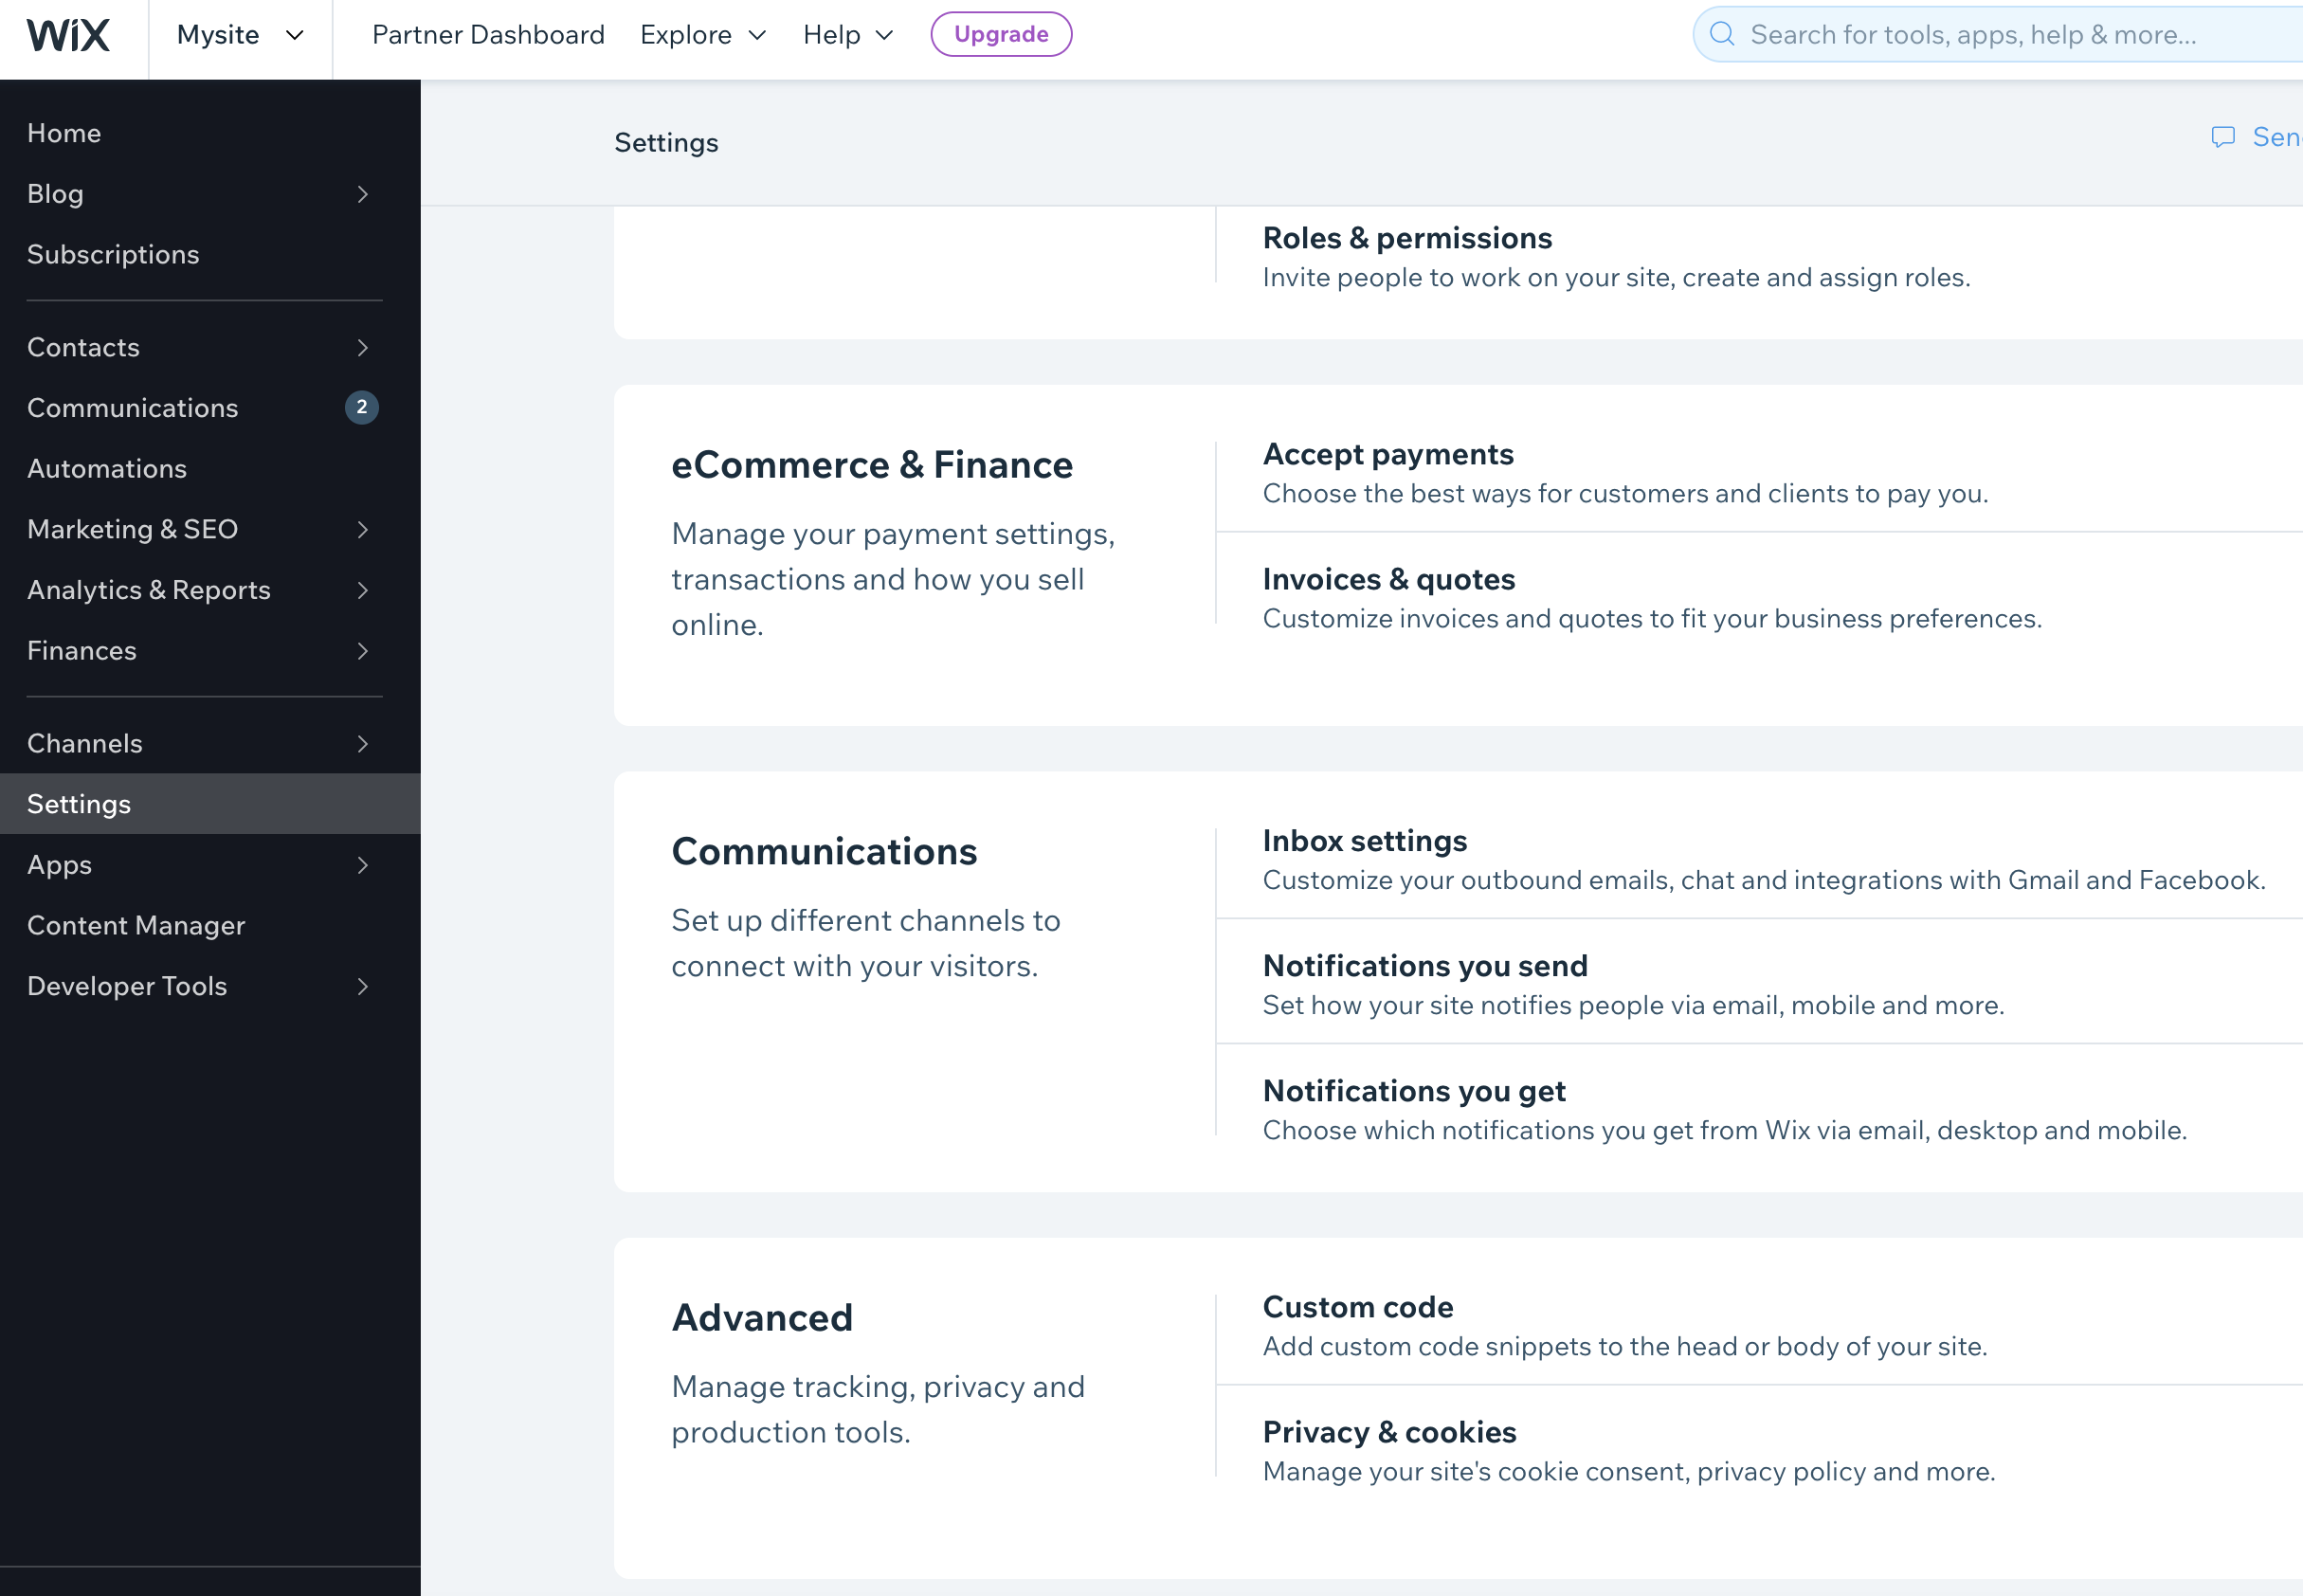
Click Settings on your Wix site dashboard.
-
Scroll to the bottom of the page to the Advanced section and click Custom Code.

-
Copy this code to your clipboard. Make sure you replace ‘YOUR API KEY HERE’ below with your API key.
<script type="text/javascript">
  var vglnk = {key: 'YOUR API KEY HERE'};
  (function(d, t) {
    var s = d.createElement(t);
    s.type = 'text/javascript';
    s.async = true;
    s.src = '//cdn.viglink.com/api/vglnk.js';
    var r = d.getElementsByTagName(t)[0];
    r.parentNode.insertBefore(s, r);
  }(document, 'script'));
</script>
-
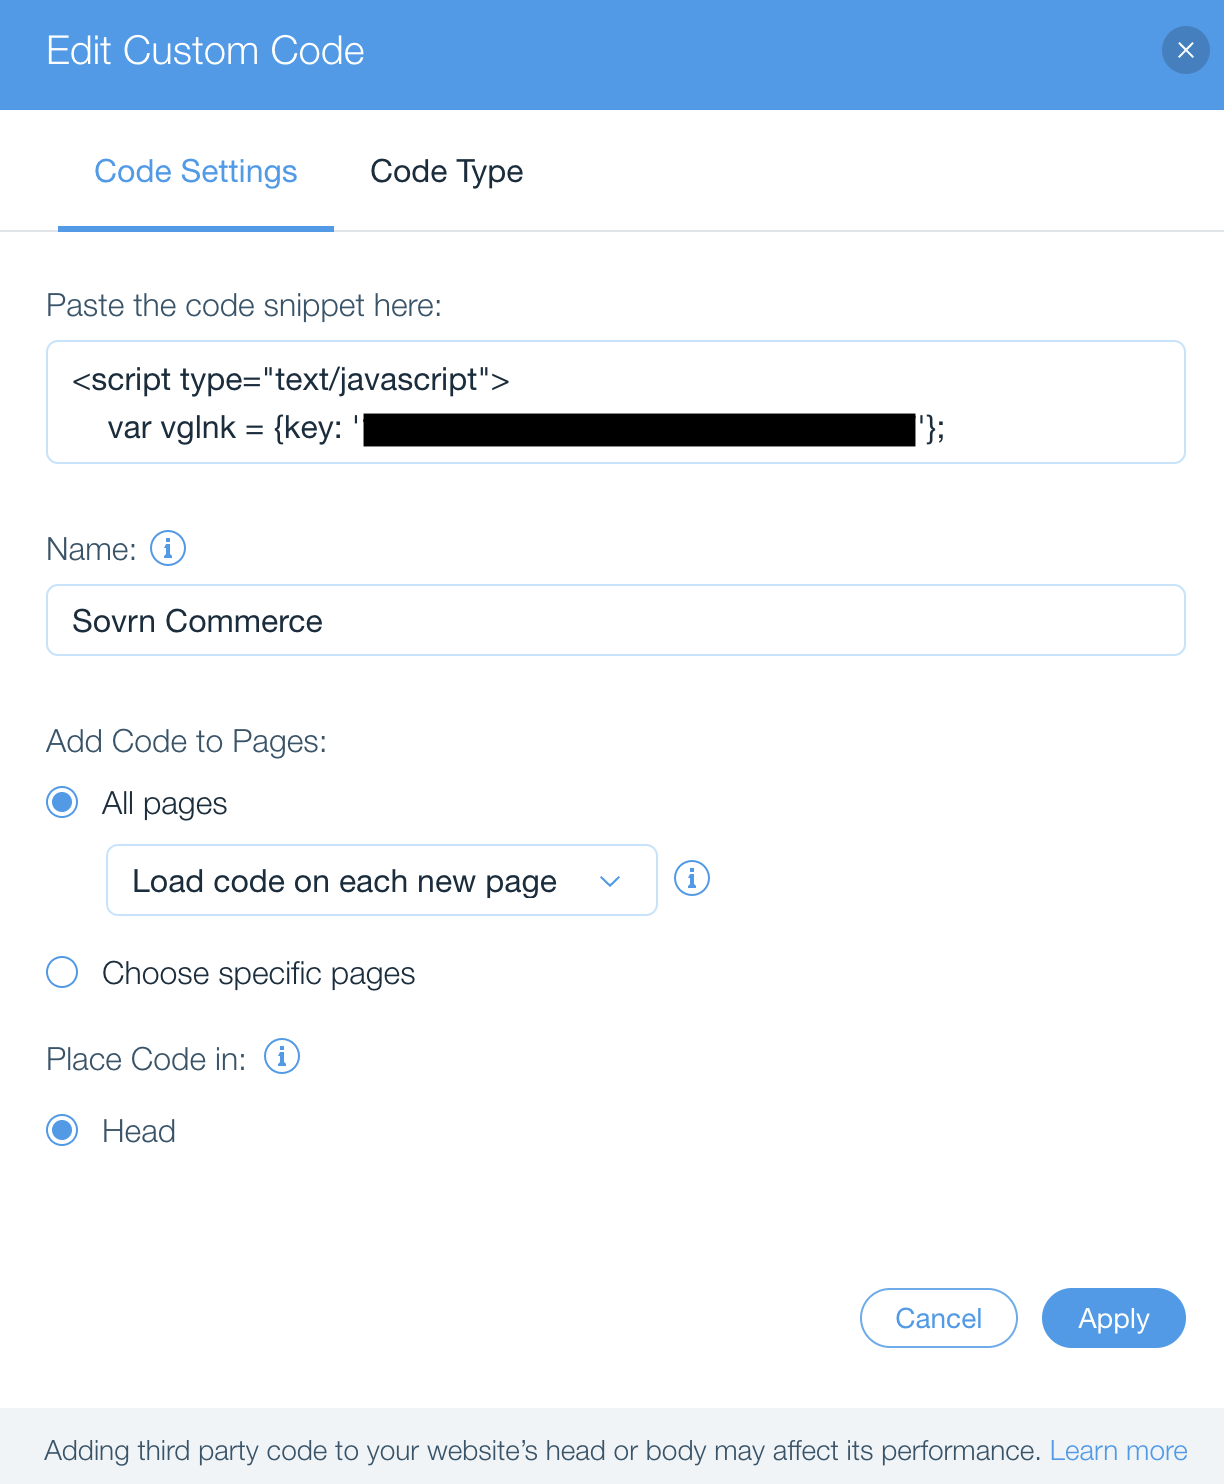
Click Add Code in the Head section of the Custom Code page.
-
Paste the Commerce Javascript code on your clipboard in the Paste the code snippet here field.
-
Name this code Sovrn Commerce.
-
We recommend adding this code to all pages. This will ensure that the Commerce JavaScript can convert links throughout your site into affiliate links.

-
Click Apply.
-
On the Custom Code page, ensure that the Enabled slider is turned on.

